
Hello There!
Happy Tuesday! Okay, so there isn't much happy about Tuesday, but at least Monday's over. I have a new technique I'd like to show you. It's called dry embossing. I'll show you what I mean.
I took an ordinary embossing folder and made a really cool backdrop for a sentiment I really liked. This background is also really cool when making Holiday cards. It has such an icy cool snowy look when it's blue. How did I achieve this look you might ask? It's SO simple you're not going to believe it!
Supplies needed:
Plain cardstock (I used Very Vanilla)
Ink pad (I used Bashful Blue)
Embossing folder
Die cut machine
Plain cardstock (I used Very Vanilla)
Ink pad (I used Bashful Blue)
Embossing folder
Die cut machine
Paper cutter
A big cup of tea


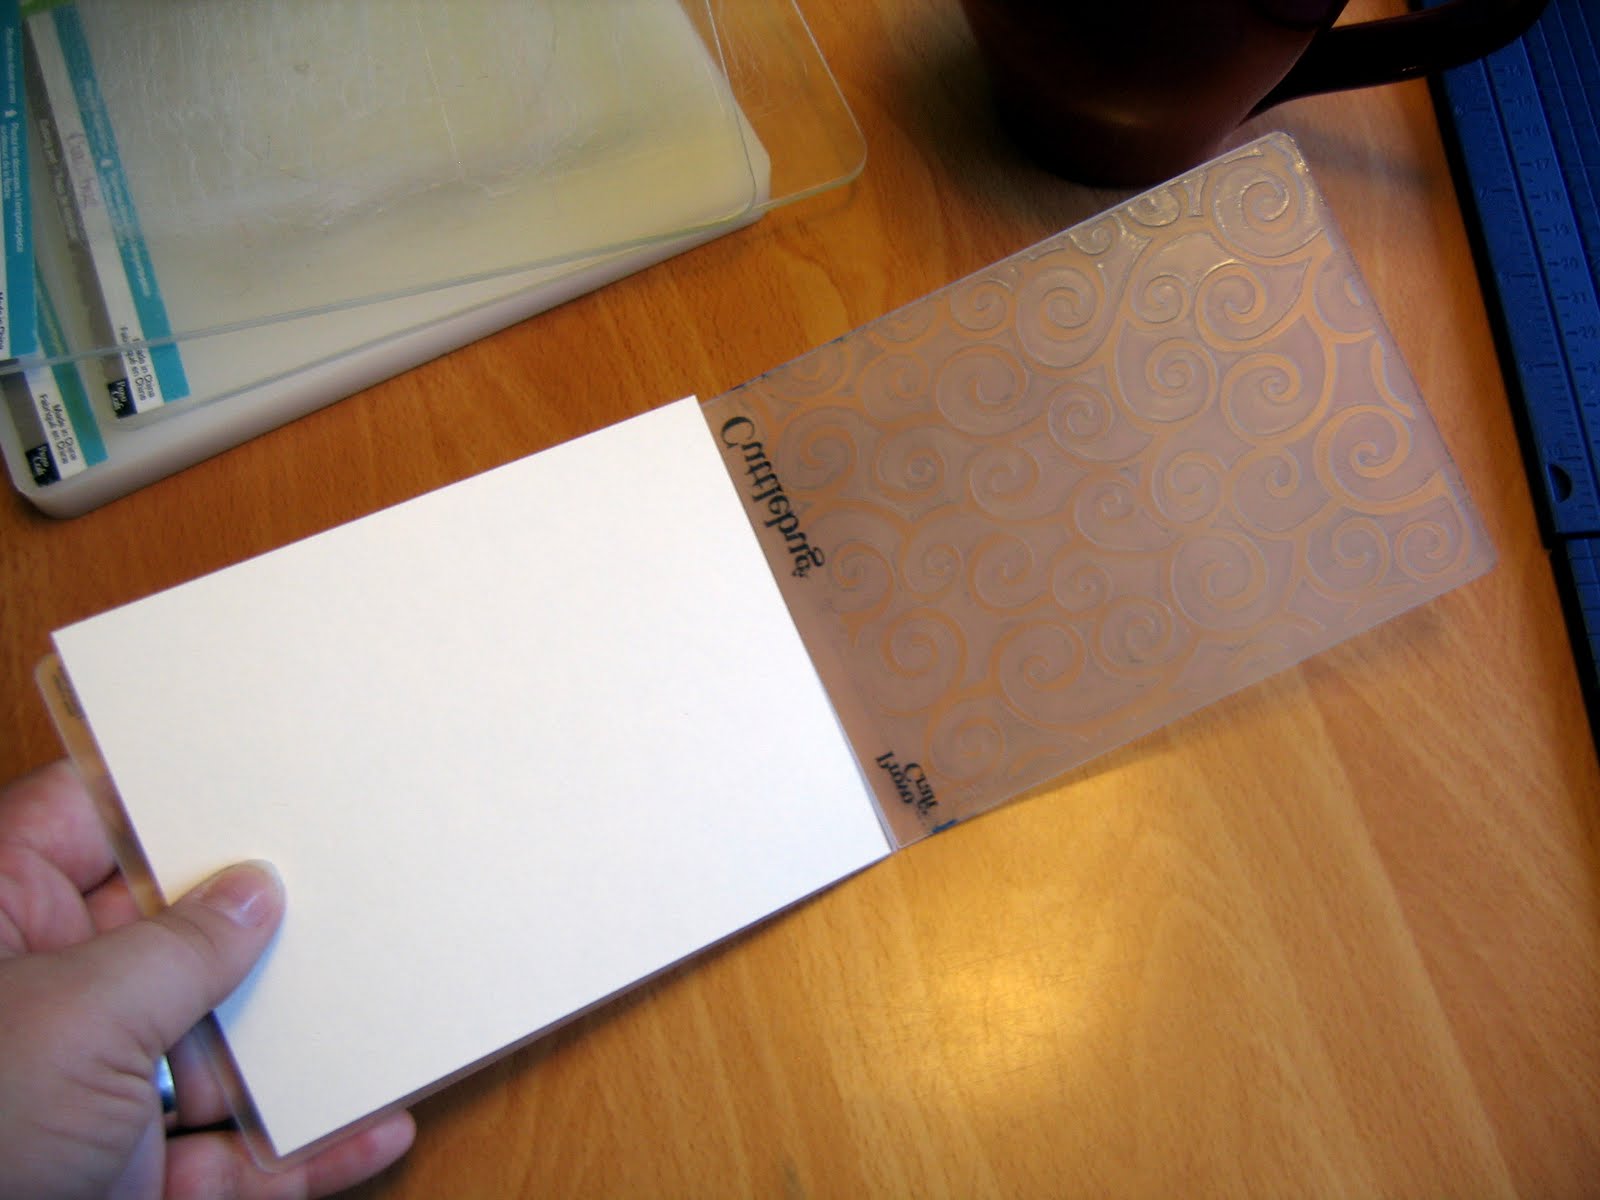
First, take your ink pad, open the embossing folder and smoosh ink all over the inside of the folder. Only one side is needed.

Next carefully place your paper inside the folder. Close your embossing folder and run it through the die cut machine as you normally would.
Tada! Your finished product should look something like this;

Just sit it out for a few minutes to fully dry, trim, and you're ready to use it on your projects. Pretty cool looking effect, right? You can experiment with so many different types of ink, paper and embossing folders. It's so fun! Here's my finished card.

Have fun!
Disclaimer: We are not responsible for any addiction resulting in experimenting with this technique. Please seek help if your craft room is filled with dry embossed cardstock.
Rebecca

Love this technique Rebecca! Nice job on it :o)
ReplyDeleteThat's neat!
ReplyDelete